STI Test Kit Sampling Instructions
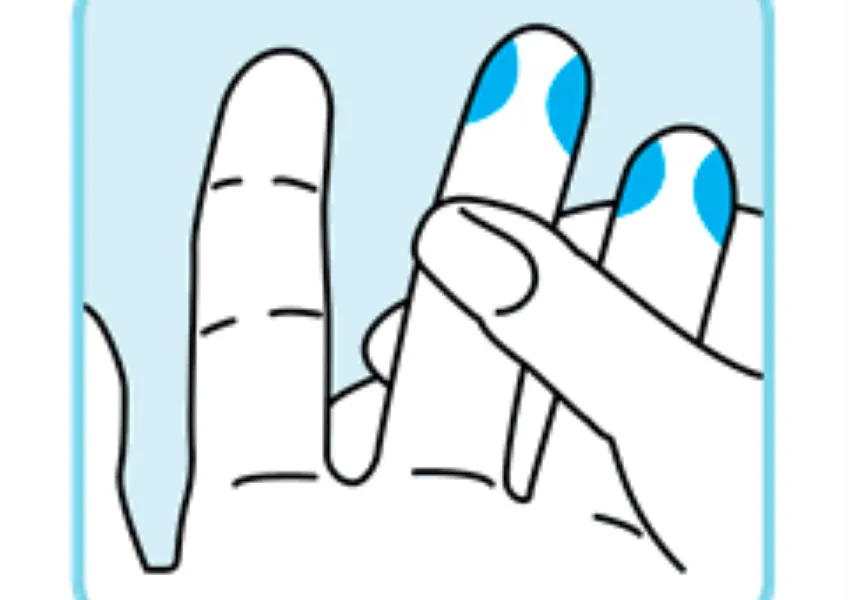
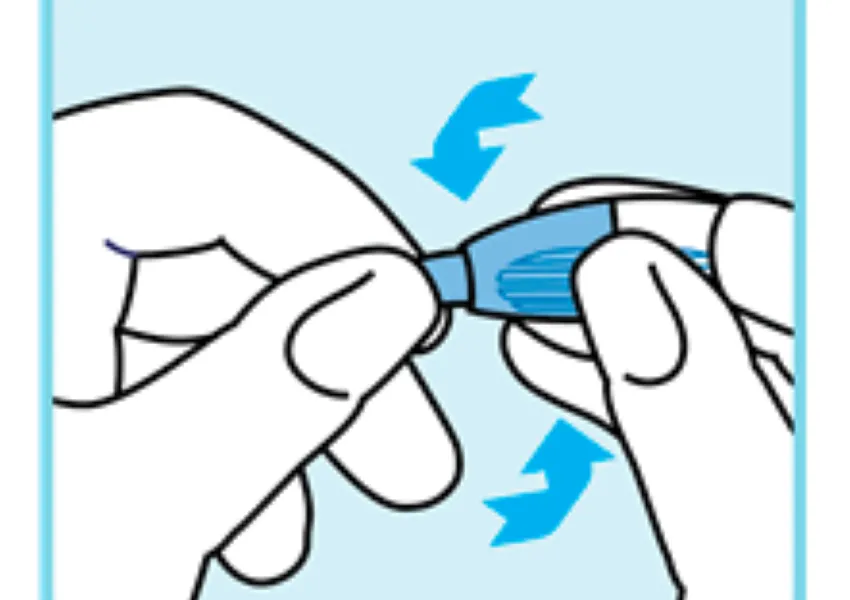
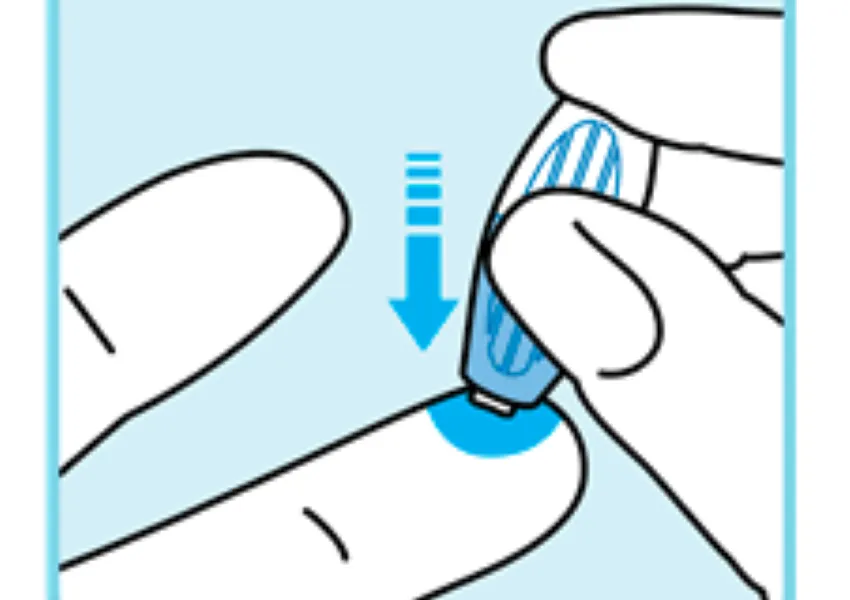
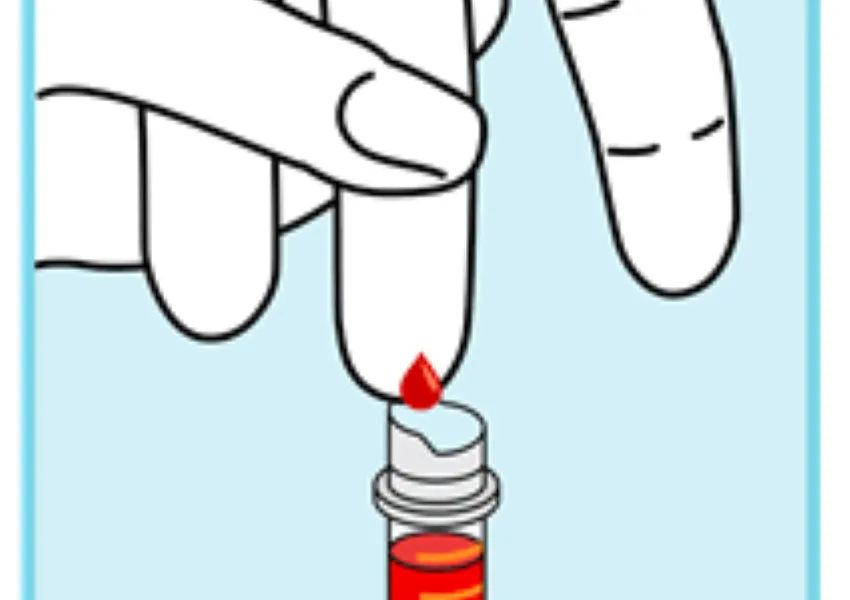
The instructions below will help you to be able to take a STI test sample at home.
Finger-prick blood test sample:
This is the test for HIV and syphilis (it’s the same for everyone). Often tests for HIV and syphilis will also include a vaginal swab or urine sample for gonorrhoea and chlamydia, so make sure you complete both parts of the test.
Tips
The vast majority of people take their own blood sample with minimal difficulties but some do struggle, so we suggest reading through these tips:
- To help blood flow, take a hot shower or bath just before you collect your sample.
- Standing whilst taking your blood sample is best but it can also be done easily when sitting.
- If you can, keep the hand you are sampling from below your waist and your arm straight.
- When you collect the blood drops, milk the full length of the finger, not just the tip.
- Asking a friend to assist you whilst you take your blood sample can make it easier.
Fainting: Rarely when some people try to take their own sample they may feel faint or do faint. Fainting (syncope) is a sudden temporary loss of consciousness that usually results in a fall. When you faint, you'll feel weak and unsteady before passing out for a short period of time, usually only a few seconds. There may not be any warning symptoms, but some people experience: a sudden, clammy sweat; feeling sick (nausea); fast, deep breathing; confusion; light-headedness; blurred vision or spots in front of your eyes; ringing in your ears. If you think you may feel faint or do feel faint lie down until you feel better.
1. Wash your hands with warm water then unpack the kit on a clean surface.
2. Remove the lid from the collection tube. Place the tube into the cardboard tube holder to keep it steady.
3. Use the alcohol wipe to clean one of your middle fingers, and let it dry.
4. Twist the tip of the safety needle to break the seal, and remove the cap.
5. Place the safety needle on the finger, and push firmly to activate. The needle activates once.
6. Wipe away the first drop of blood with a clean, dry tissue.
7. Gently massage the finger from the base to the tip (using a milking motion) to allow drops to fall into the tube.
8. Fill the tube to the upper line on the side (marked 600). We may not be able to test samples below the 400 line.
9. If you are unable to collect enough blood, we’ve included spare needles, so try another finger (or 2).
10. Apply a plaster to your finger, then tightly press the cap onto the tube. Please wipe any blood from the outside of the tube.
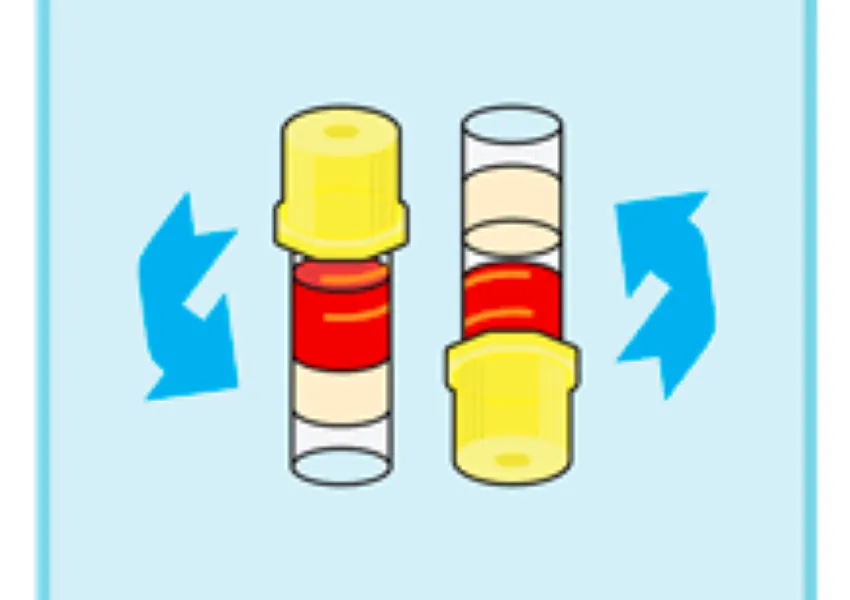
11. Gently turn the collection tube upside down 5 times. Place it into the transport bag, fold the top of the bag over and seal it.
Please see the pictures at the top of this blog for further guidance or watch the video on this page: https://www.shl.uk/self-sampling/fingerprick-blood
Urine sample:
This is the test for gonorrhoea and chlamydia if you have a penis and testicles.
Before collecting your urine sample you should not have urinated for at least one hour.
1. Wash your hands and unpack the kit on a clean surface, ideally near a toilet.
2. Remove the cap from the sample bottle and stand nearby on a surface.
3. Urinate into the urine collection pouch provided.
4. Carefully pour your sample into the bottle up to the line shown.
5. Tightly secure the cap and secure the bottle in the transport pack.
To see further guidance on how to do a urine sample, please watch the video on this page: https://www.shl.uk/self-sampling/urine
Vaginal swab:
This is the test for gonorrhoea and chlamydia if you have a vulva and vagina.
1. Wash your hands and unpack the kit on a clean surface, ideally near a toilet.
2. Remove the swab from its tube. Avoid laying it down or touching its tip.
3. Carefully insert the swab half a finger length into your vagina.
4. Now rotate the swab around the inside of your vagina 5-10 times.
5. Return the swab to the tube and close tightly.
To see further guidance on how to do a vaginal swab, please watch the video on this page: https://www.shl.uk/self-sampling/vaginal-swab
Throat swab:
1. Wash your hands and unpack the kit on a clean surface.
2. Remove the swab from its tube. Avoid laying it down or touching its tip.
3. Wipe the tip of the swab around the back of your throat. Swab these five areas:
- Open your mouth wide, and stick your tongue out. You will see an arch at the back of your mouth.
- Rub the swab several times across the very back of your throat, behind the arch. It may make you gag but should not be painful.
- Ensure you also swab the sides of the arch where your tonsils protrude.
- Try to avoid swabbing your tongue and teeth.
4. Put the swab back in the tube and push tightly to close the seal.
To see further guidance on how to do a vaginal swab, please watch the video on this page: https://www.shl.uk/self-sampling/throat-swab
Rectal swab:
1. Before you take this sample, it helps to wipe or clean your bottom
2. Wash your hands, and unpack the kit on a clean surface, ideally in a bathroom.
3. Remove the swab from its tube. Avoid laying it down or touching its tip.
4. Firmly hold the swab 3-4cm from the tip - see the scale shown below.
5. Find a comfortable position and insert the swab 2-3cm into your rectum.
6. Gently rotate the swab 5-10 times in large circles against the inside of your rectum.
7. Gently rotate the swab whilst slowly removing it, and return to the tube pushing tightly to close the seal.
To see further guidance on how to do a rectal swab, please watch the video on this page: https://www.shl.uk/self-sampling/rectal-swab